How to Set Up Aqueon MiniBow Desktop Fish Tank
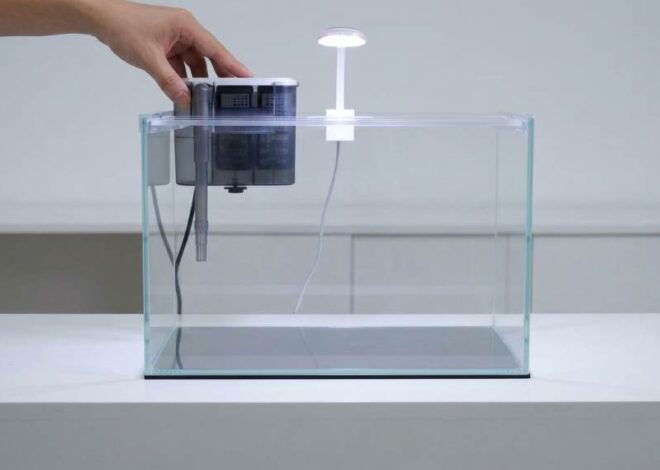
Setting up an Aqueon MiniBow Desktop Fish Tank takes less than an afternoon when you follow the correct sequence. Start with rinsed gravel, conditioned water, the filter, decorations, and a stable location before adding fish. The current MiniBow SmartClean design supports simple weekly maintenance, including a 25% water change. Its replacement cartridge typically needs replacement every four weeks for optimal performance. This guide explains the complete setup process while covering common beginner mistakes, fish acclimation, equipment placement, and ongoing care. If you are comparing equipment options, the Aqueon MiniBow Desktop Fish Tank provides a useful reference point for this compact aquarium setup.
Key Takeaways
- Choose a level, sturdy location away from direct sunlight and temperature swings.
- Rinse gravel, plants, and decorations before placing them inside the aquarium.
- Condition tap water before introducing it to the tank.
- Install and prime the SmartClean filter before connecting its power.
- Wait at least 24 hours before adding fish to the newly assembled aquarium.
- Perform regular partial water changes instead of relying only on filter cartridges.
Prepare the MiniBow Before Adding Water
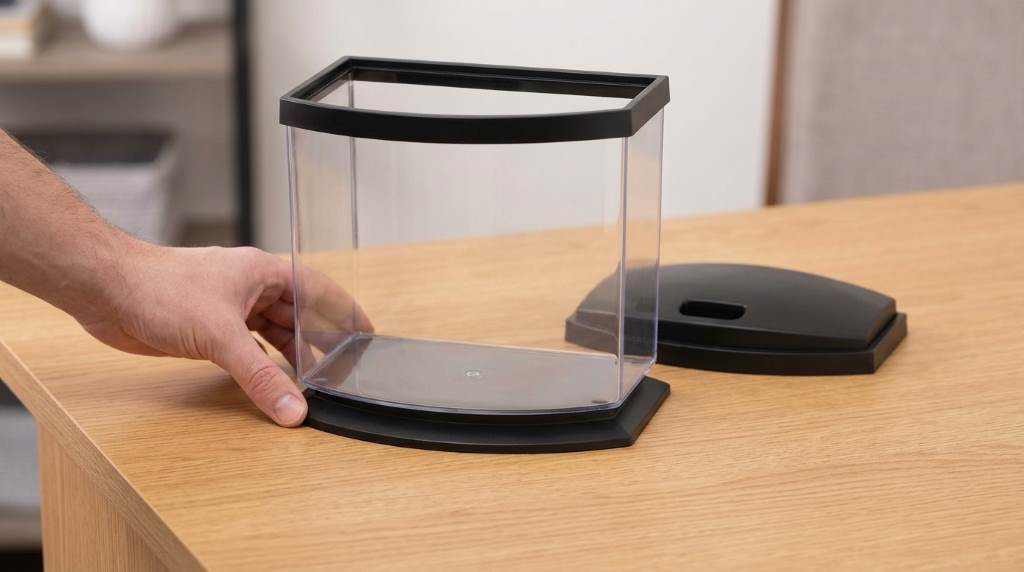
Proper preparation prevents most setup problems before they affect your fish. Therefore, unpack every component and identify the aquarium, base, hood, filter, cartridge, and power connections.
The MiniBow kit includes several starter items, but gravel, fish, and decorations may require separate purchases. Consequently, gather everything before beginning so you do not interrupt the setup midway.
Choose a Safe Desktop Location
Place the aquarium on a sturdy, level surface that can support its filled weight. Avoid unstable shelves, narrow desks, direct sunlight, heating vents, and frequently opened windows.
Also leave enough clearance behind the aquarium for filter components and electrical cords. Keep the outlet accessible, then create a drip loop below every electrical connection.
Inspect Every Component
Check the acrylic aquarium for cracks, chips, scratches, or damaged fittings before adding anything. Next, inspect the filter assembly and confirm that the cartridge fits correctly.
Do not operate damaged electrical equipment near water. Instead, replace questionable components before continuing with the setup.
Clean the Tank and Aquarium Accessories
Never use soap, detergent, bleach, or household cleaners inside the aquarium. Residue from cleaning chemicals can create dangerous conditions for aquatic life.
Instead, rinse the aquarium accessories thoroughly with clean water. This simple approach removes manufacturing dust without introducing unnecessary chemicals.
Rinse the Gravel Correctly
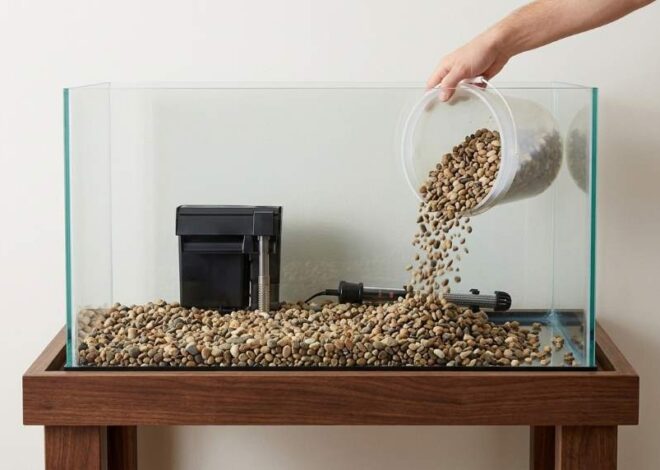
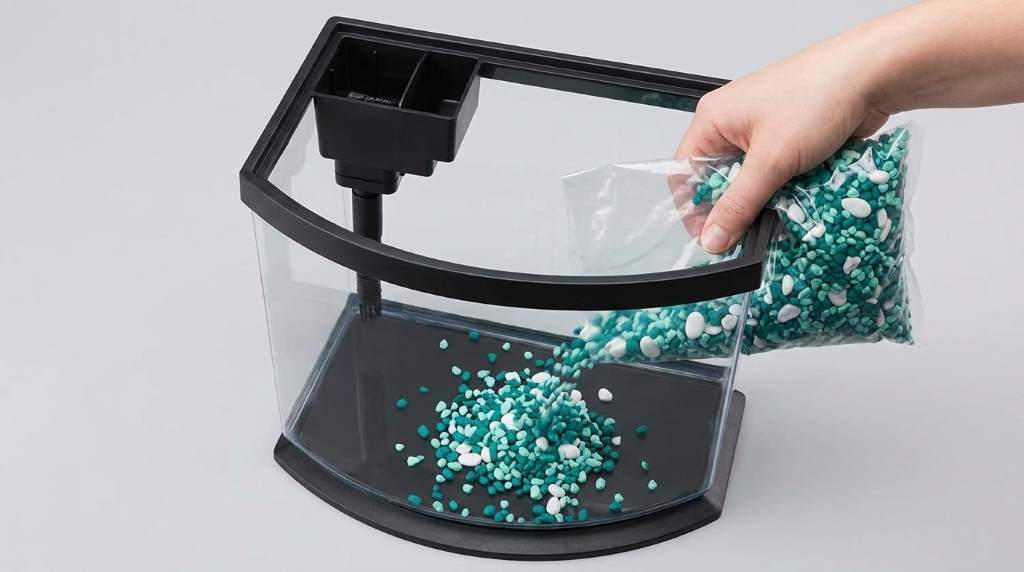
Place the gravel inside a colander or fine strainer and rinse it under running tap water. Continue rinsing until the water becomes noticeably clearer.
Then spread approximately one inch of gravel across the aquarium floor. A deeper substrate can work for some layouts, but beginners should avoid unnecessary depth.
Prepare Plants and Decorations
Rinse every artificial plant, ornament, rock, or other decoration before placing it inside the tank. Check each item for sharp edges that could injure fish.
Arrange decorations before filling the aquarium completely. This approach makes positioning easier and prevents unnecessary disturbance after adding water.
Build a Simple, Fish-Friendly Layout
A good desktop aquarium needs open swimming space as much as attractive decoration. Therefore, place larger decorations toward the back and leave clear space near the front.
Secure plant bases beneath the gravel so they remain stable. Avoid overcrowding the tank because excessive decorations can restrict movement and complicate maintenance.
Plan Around the Filter Flow
Position decorations so they do not block the filter intake or outlet. Good circulation helps distribute oxygen, heat, and conditioned water throughout the aquarium.
For bettas and other fish that dislike strong currents, watch the surface movement after starting the filter. Rearrange decorations if they create excessive turbulence or dead spots.
Fill the Aquarium With Conditioned Water
After arranging the substrate and decorations, slowly add room-temperature water to the aquarium. Pour the water over your hand or another clean surface to protect the layout.
Fill the aquarium to the recommended level near the bottom edge of the upper frame. Then add water conditioner according to the product label and actual water volume.
Why Water Conditioner Matters
Tap water can contain chlorine or chloramine that harms fish and beneficial aquarium microorganisms. A suitable aquarium water conditioner neutralizes these compounds when used correctly.
Never estimate conditioner dosage casually, especially when working with a compact aquarium. Measure the water volume carefully and follow the conditioner manufacturer’s directions.
Install and Start the SmartClean Filter
The filter provides mechanical and biological filtration while supporting convenient water changes. Before installation, rinse the filter cartridge with clean water as directed.
Assemble the filter according to its instructions, then place it securely in the designated position. Confirm that the filter sits correctly before connecting electrical power.
Prime the Filter Before Plugging It In
Make sure the filter has the required water around its intake before switching it on. Running a filter without adequate water can damage its pump.
Once the aquarium reaches the proper water level, connect the filter using a safe electrical setup. Always keep a drip loop below the electrical outlet connection.
Check the Water Movement
Watch the filter outlet for consistent water movement after startup. Listen for unusual grinding, rattling, or repeated attempts to restart.
If the filter struggles, switch it off and inspect the water level and cartridge placement. Correct the problem before leaving the aquarium operating unattended.
Add a Heater When Your Fish Needs One
The standard MiniBow SmartClean kit may not include a heater, so choose one based on your fish’s requirements. Tropical species generally need stable temperatures within their recommended range.
Install the heater according to its manufacturer’s instructions and allow adequate water circulation around it. Positioning the heater near filter circulation can help distribute warm water evenly.
Never operate a submersible heater outside water. Also avoid removing a recently operating heater from water until it cools according to its instructions.
Install the LED Hood and Manage Cords
Place the LED hood securely on the aquarium after installing the filter and optional heater. Route the equipment cords through the hood’s designated opening.
This arrangement helps the hood sit correctly while keeping cables organized. More importantly, maintain a drip loop so water cannot travel along a cord toward an outlet.
Control the Lighting Schedule
Keep the aquarium away from direct sunlight because excessive light can encourage algae growth and temperature fluctuations. A timer can provide a consistent daily lighting schedule.
Aqueon’s setup guidance recommends approximately eight to ten hours of light daily. Adjust the schedule based on algae growth, plant requirements, and the room’s ambient lighting.
Let the Aquarium Stabilize Before Adding Fish
Do not rush the most important part of the setup by immediately adding fish. Aqueon’s MiniBow setup guidance recommends waiting 24 hours before introducing fish.
However, a 24-hour wait does not automatically establish a fully cycled biological filter. Beneficial bacteria need time to develop and process fish waste safely.
Understand the Nitrogen Cycle
Fish waste produces ammonia, which can become toxic at elevated concentrations. Beneficial bacteria gradually convert ammonia into nitrite and then less toxic nitrate.
For a healthier setup, test ammonia, nitrite, and nitrate before adding livestock. A fishless cycling approach provides more biological preparation than simply waiting overnight.
Acclimate Fish Without Temperature Shock
Once the aquarium is ready, acclimate new fish gradually rather than releasing them immediately. First, turn off the aquarium light and keep the transport bag closed.
Float the unopened bag in the aquarium for about 20 minutes. This step allows the water temperatures to move closer together.
Next, open the bag and add approximately half a cup of aquarium water. Wait about five minutes, then repeat the process once more.
Finally, allow the fish to enter the aquarium carefully and avoid adding transport water whenever practical. Restore the hood and restart the equipment after introducing the fish.
Stock the MiniBow Conservatively
Small aquariums provide less water volume to dilute waste than larger systems. Therefore, stocking decisions require more attention than decoration choices.
Choose livestock according to the actual tank capacity, adult size, temperament, and filtration capability. Never assume that a small fish automatically requires little care.
Common Beginner Mistakes
- Adding fish immediately after filling the aquarium.
- Using untreated tap water.
- Overfeeding because fish appear hungry.
- Replacing filter media too aggressively and losing beneficial bacteria.
- Placing the aquarium beside a sunny window.
- Overcrowding the tank with incompatible species.
Establish a Simple Maintenance Routine
Successful aquarium ownership depends more on consistency than complicated equipment. Therefore, create a small maintenance routine that fits naturally into your week.
The MiniBow SmartClean system simplifies partial water changes through its integrated water-change design. Aqueon’s guidance recommends removing about 25% of the aquarium water during routine changes.
Perform Weekly Water Changes
Remove approximately 25% of the water and replace it with appropriately treated water. Match the replacement water temperature closely to reduce unnecessary stress.
During each change, inspect the fish, substrate, filter flow, decorations, and water clarity. Small observations often reveal developing problems before they become serious.
Replace Filter Cartridges Responsibly
The MiniBow SmartClean system uses small Aqueon replacement cartridges. Aqueon recommends replacing the cartridge about every four weeks for optimal performance.
However, avoid treating cartridge replacement as a substitute for water changes. Beneficial biological filtration can depend on established media, so follow the specific filter instructions carefully.
Keep Feeding Simple and Controlled
Overfeeding creates one of the most avoidable water-quality problems in small aquariums. Give fish only an amount they can consume quickly without leaving significant leftovers.
Start conservatively and observe feeding behavior before increasing portions. Remove uneaten food promptly when practical to reduce unnecessary organic waste.
Troubleshoot Common MiniBow Setup Problems
Why Is the Filter Not Pumping Water?
Check the water level, cartridge placement, intake position, and filter assembly first. Then switch the unit off before inspecting components or correcting their placement.
Why Does the Water Look Cloudy?
New aquariums can develop temporary bacterial blooms while their biological systems establish. Avoid repeatedly dismantling the aquarium, and monitor ammonia and nitrite during stabilization.
Why Does Algae Keep Growing?
Excessive light, nutrients, and inconsistent maintenance commonly encourage algae. Reduce unnecessary lighting exposure and review feeding and water-change habits.
Why Does the Filter Sound Loud?
Check whether the water level has dropped or the cartridge sits incorrectly. Also inspect the intake for debris and ensure the filter rests securely.
A Practical MiniBow Setup Checklist
| Setup Stage | What to Check |
|---|---|
| Location | Level, stable surface away from direct sunlight |
| Substrate | Clean gravel distributed evenly across the bottom |
| Decor | Rinsed, secure, and free from sharp edges |
| Water | Room-temperature water treated with conditioner |
| Filter | Correct cartridge placement and adequate water level |
| Heater | Installed only when required by livestock |
| Lighting | Hood secured and lighting schedule controlled |
| Fish | Added after stabilization and gradual acclimation |
| Maintenance | Regular partial water changes and equipment checks |
How to Make the MiniBow Easier to Maintain
The best setup minimizes future disruption rather than simply looking attractive on day one. Leave enough open space for cleaning tools, water changes, and routine equipment inspection.
Keep essential supplies nearby, including water conditioner, a thermometer, testing equipment, fish food, and a dedicated container. Consequently, routine maintenance becomes faster and less likely to get skipped.
Final Thoughts
Setting up an Aqueon MiniBow becomes straightforward when you build the aquarium in the right order. Prepare the location, rinse the materials, arrange the substrate, condition the water, install filtration, and stabilize the environment.
Most importantly, treat the MiniBow as a living ecosystem rather than a decorative desktop container. Follow a consistent maintenance schedule, monitor water quality, and stock responsibly to give your fish the best environment possible.
Ready to set yours up? Gather the required supplies today, follow this sequence carefully, and complete each equipment check before adding your first fish.
Frequently Asked Questions
How long should I wait before adding fish to a MiniBow?
Aqueon’s setup guidance recommends waiting 24 hours, while proper biological cycling may require substantially longer.
Do I need a heater for an Aqueon MiniBow?
You need a heater when your chosen fish requires stable temperatures above your room’s normal temperature.
How often should I change MiniBow aquarium water?
A routine partial water change of approximately 25% provides a practical maintenance starting point.
How often should I replace the MiniBow filter cartridge?
Aqueon recommends replacing the small replacement cartridge approximately every four weeks for optimal performance.
Can I put the MiniBow near a sunny window?
No, direct sunlight can promote algae growth and create unwanted temperature fluctuations inside the aquarium.