How to Install Growneer 550GPH Submersible Pump
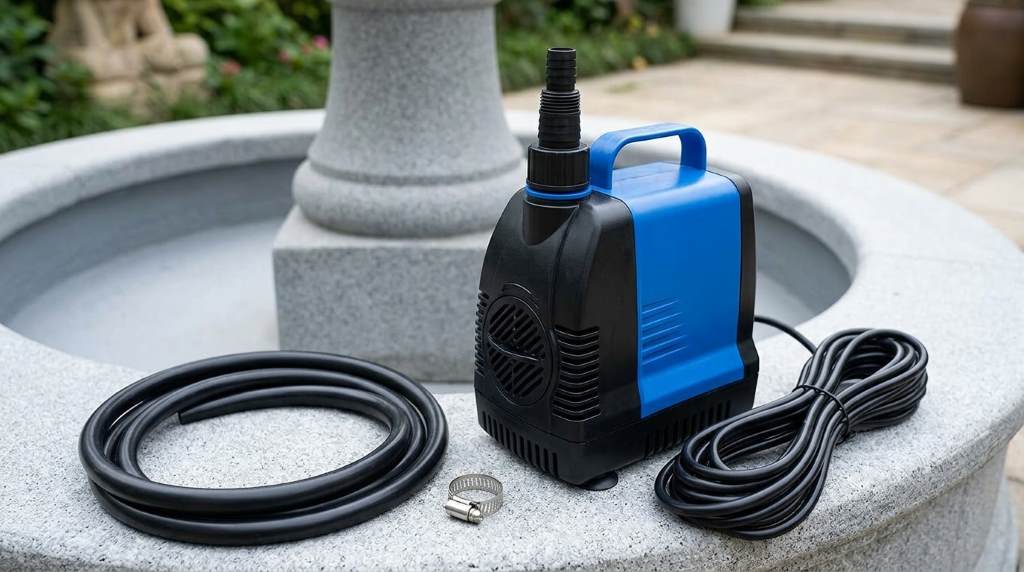
Installing the Growneer 550GPH Submersible Pump requires placing it securely inside the water, connecting the tubing, adjusting the flow, and powering it safely. Following the correct setup process improves water circulation, protects the motor, and helps the pump perform efficiently for a long time.
Installing an aquarium or pond pump correctly improves water quality and extends equipment life. According to industry estimates, proper water circulation supports healthier aquatic environments while reducing debris buildup. This guide explains every installation step using simple instructions for beginners and experienced hobbyists alike. You can also learn more about the Growneer 550GPH submersible pump before starting your setup. Additionally, careful installation reduces maintenance while helping the pump operate quietly.
What You Need Before Installation
Gather every required item before opening the pump package. Preparation makes installation faster while preventing unnecessary interruptions during setup.
- Growneer 550GPH Submersible Pump
- Included outlet adapters
- Compatible tubing
- Clean aquarium, pond, or water feature
- Power outlet with drip loop
- Soft cleaning cloth
- Bucket of clean water if testing separately
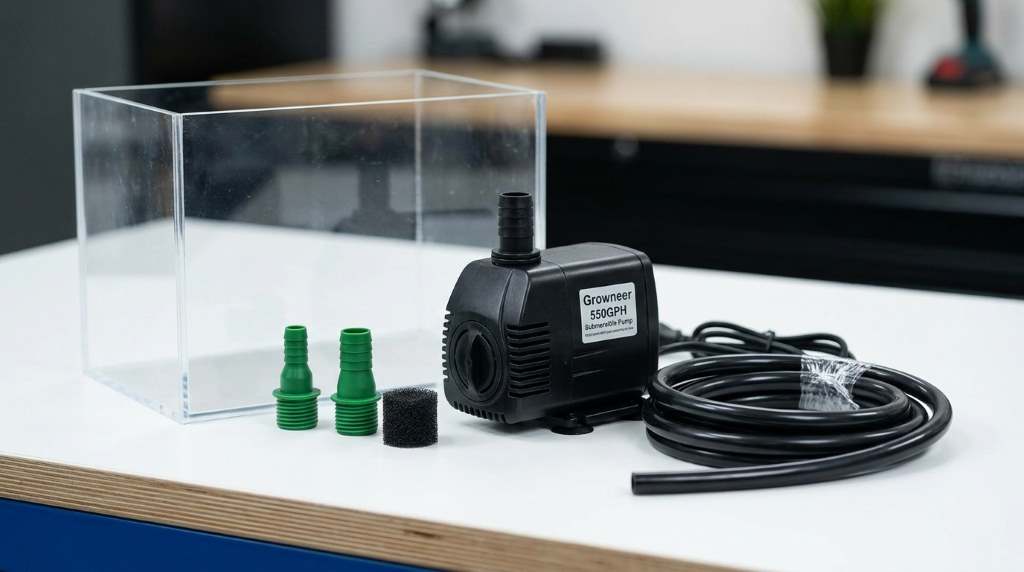
Inspect the Pump Before Use
Check every component for shipping damage before installation begins. Also confirm that the impeller cover and suction cups remain firmly attached.
Read the user manual before connecting electrical power. Understanding the manufacturer’s instructions helps avoid common installation mistakes.
Choose the Best Installation Location
Select a Stable Surface
Place the pump on a flat underwater surface inside the aquarium or pond. A stable position reduces vibration while improving operating efficiency.
Keep the Pump Fully Submerged
The entire pump body should remain underwater during operation. Running the motor dry can damage internal components within minutes.
Allow Enough Water Flow
Leave enough open space around the intake screen for unrestricted circulation. Blocked intake areas reduce performance and increase motor strain.
Step by Step Installation Guide
Step 1: Attach the Outlet Adapter
Select the outlet size matching your tubing diameter before connecting accessories. Next, tighten the adapter gently until it fits securely.
Step 2: Connect the Tubing
Push the tubing firmly over the outlet connector without forcing excessive pressure. A tight connection helps prevent leaks during operation.
Step 3: Secure the Pump
Press each suction cup firmly against the installation surface underwater. Proper attachment keeps the pump stable during continuous operation.
Step 4: Position the Outlet
Aim the outlet toward the desired water movement direction before powering the pump. Proper positioning improves circulation throughout the aquarium.
Step 5: Create a Drip Loop
Form a drip loop below the electrical outlet before plugging in the power cord. This simple step prevents water from reaching the socket.
Step 6: Turn On the Pump
Connect the power plug after confirming every connection remains secure. Water should begin flowing within several seconds after startup.
Adjust the Water Flow
Use the built in flow control if your model includes this feature. Lower settings work well for smaller tanks with delicate aquatic plants.
Increase the flow gradually until circulation appears even throughout the aquarium. Excessive current may stress some fish species unnecessarily.
Test Pump Performance
Observe water movement carefully during the first fifteen minutes of operation. Smooth flow usually indicates that installation was completed correctly.
Listen for unusual vibration or rattling after startup finishes. Minor adjustments often eliminate unwanted operating noise immediately.
Common Installation Mistakes to Avoid
- Running the pump without complete water coverage
- Blocking the intake with decorations
- Using incorrect tubing size
- Skipping the drip loop
- Ignoring unusual operating sounds
- Installing the pump on unstable surfaces
How to Keep the Pump Working Efficiently
Clean the intake screen regularly to remove algae and accumulated debris. Regular maintenance helps maintain strong water flow over time.
Inspect the impeller every few weeks for dirt buildup or wear. Clean moving parts carefully before reinstalling them inside the housing.
Replace damaged tubing whenever cracks or leaks become visible. Fresh tubing improves water delivery while reducing maintenance problems.
Troubleshooting Installation Problems
Pump Does Not Start
Check the electrical outlet first before inspecting the power cord connection. Also verify that the pump remains completely submerged.
Weak Water Flow
Clean the intake screen and inspect the tubing for blockages. Afterwards, increase the flow setting if available.
Excessive Noise
Remove trapped air by slightly repositioning the pump underwater. Then confirm every suction cup remains firmly attached.
Water Leaks Around Tubing
Reconnect the tubing securely after checking the outlet adapter size. A proper fit usually stops minor leaks immediately.
When Should You Clean the Pump?
Clean the pump whenever water flow noticeably decreases or visible debris appears. Most home aquariums benefit from monthly inspection and cleaning.
Heavy fish populations may require more frequent maintenance because waste accumulates faster. Consistent cleaning extends pump life while maintaining efficient performance.
Final Thoughts
Installing the Growneer 550GPH Submersible Pump becomes simple when each step follows the correct order. Proper placement, secure connections, and regular maintenance ensure dependable water circulation every day. Follow this guide during every installation for reliable results, then inspect the pump regularly to maintain excellent performance.
Frequently Asked Questions
How deep should the Growneer 550GPH Submersible Pump sit?
The pump should remain completely submerged during operation.
Can I use the pump in a small pond?
Yes, it works well in compatible small ponds and water features.
Should I clean the pump before first use?
No, simply inspect it unless visible debris appears inside.
How often should I clean the intake screen?
Clean it whenever debris reduces normal water flow.
Why is my pump making noise after installation?
Noise usually comes from trapped air, vibration, or improper positioning.